Why and how to use natural preservatives for food storage?
We all know that we live in a world of packaged food which is laced with harmful preservatives, additives, thickening agents, and colors. As much as it is essential to avoid them, at the same time it is difficult to get by without them. But we can reduce the usage of many packaged, canned or frozen food by storing them using natural preservatives.
What is a natural preservative?
Natural preservatives are substances derived from natural sources that are used to extend the shelf life of food and inhibit the growth of microorganisms without resorting to synthetic additives. These preservatives harness the inherent antimicrobial, antioxidant, and acidifying properties of natural ingredients to create an environment that prevents spoilage and maintains food quality.
Why should we use natural preservatives?
Opting for natural preservatives in food is a wise choice for multiple reasons. Natural preservatives, derived from sources like herbs, spices, citrus, and fermentation, offer a safe and health-conscious alternative to synthetic additives. They not only extend the shelf life of food but also maintain its nutritional value and taste. Choosing natural options aligns with the growing consumer demand for minimally processed and additive-free products, fostering a more sustainable and eco-friendly approach to food preservation. Additionally, natural preservatives often bring additional health benefits, like antioxidants and antimicrobial properties, contributing positively to overall well-being. By embracing natural preservation methods, we not only safeguard our health but also respect the integrity of the foods we consume and contribute to a more wholesome and balanced diet.
What are the commonly used Natural Preservatives
Several natural ingredients have preservative properties due to their antimicrobial, antioxidant, and acidifying effects. Here are seven natural ingredients that can work as food preservatives:
- Vinegar: Vinegar, especially white vinegar and apple cider vinegar, contains acetic acid, which creates an acidic environment that inhibits the growth of bacteria, molds, and yeast. It’s commonly used for pickling and preserving vegetables and fruits.
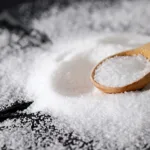
- Salt: Salt has been used for centuries to preserve food. It draws out moisture, creating an environment where microorganisms cannot thrive. Salt can be used as a dry rub, in brines, or in combination with other preservation methods.
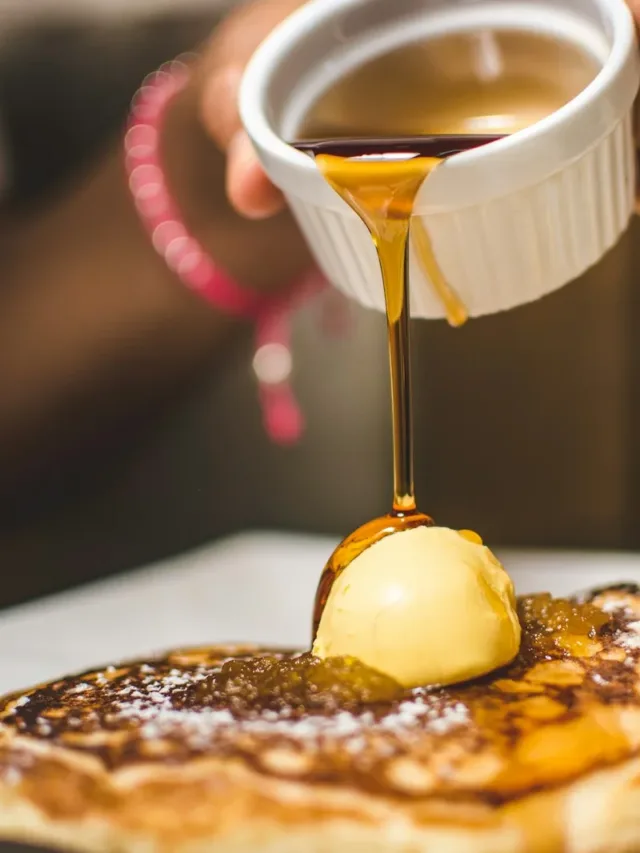
- Sugar: Sugar acts as a preservative by reducing water activity in foods, making it difficult for microorganisms to grow. Jams, jellies, and fruit preserves rely on sugar to preserve the fruits and prevent spoilage.
- Honey: Honey has natural antimicrobial properties due to its low water content, high acidity, and the presence of hydrogen peroxide. It can be used to preserve fruits, create honey-infused products, and even as a natural sweetener.
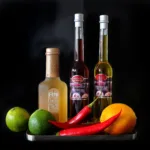
- Citrus Juices: Citrus juices, such as lemon juice and lime juice, are rich in citric acid. This acid can inhibit the growth of bacteria and molds and can be used as a natural preservative in marinades, dressings, and canned foods.
- Rosemary Extract: Rosemary extract contains natural antioxidants, such as rosmarinic acid, that can help prevent oxidation and spoilage in fats and oils. It’s sometimes used as a natural alternative to synthetic antioxidants.
- Cloves: Cloves are known for their antimicrobial and antioxidant properties. They can be used as a spice or added to oil infusions to help prevent the growth of spoilage microorganisms.
How to use natural preservatives?
VINEGAR
Preserving food using vinegar is a common method that creates an acidic environment that inhibits the growth of microorganisms. One popular application of this method is pickling vegetables. Here’s a detailed method for preserving vegetables using vinegar:
Vegetable Pickle using Vinegar
Equipment
- Glass jars with tight-fitting lids
- Boiling water bath canner (for long-term preservation)
- Large Pot
- Mixing Bowls
- Cutting board and knife
Materials
- Fresh vegetables e.g., cucumbers, carrots, cauliflower, bell peppers
- Vinegar white vinegar or apple cider vinegar
- Water
- Salt
- Optional: spices e.g., dill, garlic, peppercorns, mustard seeds
Instructions
Preparation:
- Wash and sanitize the glass jars and lids by running them through the dishwasher or boiling them in water.
- Wash the vegetables thoroughly and trim them to the desired size and shape. Remove any bruised or damaged portions.
Brine Preparation:
- In a pot, combine vinegar, water, and salt in the following ratio: 1 part vinegar, 1 part water, and 1 tablespoon of salt per cup of liquid.
- You can also add spices like dill, garlic, mustard seeds, and peppercorns to the brine for flavor.
Blanch Vegetables (Optional):
- Some vegetables benefit from blanching before pickling. Blanching involves briefly boiling the vegetables to slightly soften them and preserve their color.
- After blanching, immediately plunge the vegetables into ice water to stop the cooking process.
Pack the Jars:
- Pack the prepared vegetables into the sanitized glass jars, leaving about 1 inch of space at the top.
- Pour the prepared brine over the vegetables, ensuring they are fully covered. Leave about ½ inch of headspace between the brine and the jar’s rim.
Remove Air Bubbles:
- Gently tap the jars on a countertop to remove any trapped air bubbles. This helps ensure that the brine fully penetrates the vegetables.
Seal the Jars:
- Wipe the jar rims clean to ensure a proper seal. Place the lids on the jars and screw on the bands until they are fingertip-tight.
Processing (Optional for Long-Term Preservation):
- If you plan to store the pickled vegetables for an extended period, you can process the jars in a boiling water bath canner.
- Place the sealed jars in the canner, making sure they are fully submerged in water. Process them according to recommended times for your altitude and jar size. This helps create a vacuum seal and extend shelf life.
Cooling and Storage:
- After processing or simply packing the jars, allow them to cool at room temperature.
- Store the cooled jars in a cool, dark place, such as a pantry or cellar. Properly sealed and processed jars can last for several months to a year.
Notes
SALT
Preserving food using salt is a traditional method that involves drawing out moisture from food, creating an environment where microorganisms cannot thrive. One popular application of this method is curing meats. Here’s a detailed method for preserving meat using salt:
Meat Preservation using Salt
Equipment
- Non-reactive container (glass, ceramic, or plastic)
- Plastic wrap or parchment paper
- Weight or heavy object
- Refrigerator
Materials
- Fresh meat e.g., pork, beef, fish
- Coarse salt kosher salt or sea salt
- Optional: sugar herbs, spices (for flavor)
Instructions
Preparation:
- Choose fresh, high-quality meat for curing. You can use cuts like pork belly, beef brisket, or fish fillets.
- Prepare a non-reactive container that’s large enough to hold the meat without crowding.
Salt Mixture Preparation:
- Mix coarse salt with optional sugar, herbs, and spices in a bowl. The ratio of salt to other ingredients depends on personal preference and the size of the meat. A common ratio is about 1 cup of salt to 1/4 cup of sugar, along with herbs and spices as desired.
Dry Cure:
- Sprinkle a thin layer of the salt mixture on the bottom of the container.
- Lay the meat on top of the salt mixture.
- Generously coat the meat with the salt mixture, making sure to cover all surfaces. Use more mixture for larger cuts.
- Place the meat in the container, making sure it’s not touching the sides.
Weighting the Meat:
- Place a layer of plastic wrap or parchment paper directly on top of the meat.
- Place a weight or heavy object on top of the plastic wrap to press the meat down. This helps ensure even contact with the salt and promotes moisture extraction.
Curing Time:
- The curing time varies based on the size and type of meat. As a general rule, cure for about 1 day per 1/2 inch of thickness. Larger cuts might need more time.
- Check the meat regularly to monitor its progress. It should firm up and lose moisture.
Rinsing and Resting:
- After the curing period, carefully remove the meat from the container and rinse it thoroughly under cold water to remove excess salt.
- Pat the meat dry with paper towels and let it rest in the refrigerator uncovered for a few hours or overnight. This helps equalize the salt distribution.
Storage:
- Once the meat is properly cured, it can be stored in the refrigerator or freezer.
- If you’re not planning to use the meat immediately, wrap it in butcher paper or vacuum-sealed bags before freezing.
Slicing and Serving:
- After curing and resting, the meat is ready to be sliced and enjoyed. Thin slices can be used in sandwiches, charcuterie boards, or various recipes.
Notes
SUGAR
Preserving food using sugar is a method that involves using sugar to reduce water activity, creating an environment where microorganisms cannot thrive. One common application of this method is making fruit preserves or jams. Here’s a detailed method for preserving fruit using sugar:
Preserve fruit using sugar
Equipment
- Non-reactive pot
- Wooden spoon or spatula
- Glass jars with tight-fitting lids
- Canning equipment (if planning to store long-term)
Materials
- Fresh fruits e.g., berries, stone fruits, citrus
- Granulated sugar
- Lemon juice optional, for acidity
- Pectin optional, for added gelling
Instructions
Preparation:
- Choose ripe, fresh fruits that are free from bruises or damage.
- Wash, peel, pit, and chop the fruits as needed. The size of the fruit pieces will affect the texture of the preserves.
Mixing Fruits and Sugar:
- In a non-reactive pot, combine the chopped fruits and granulated sugar. The amount of sugar can vary depending on the sweetness of the fruits and your taste preferences.
- If desired, add a small amount of lemon juice for acidity. This can enhance the flavor and help the preserves set.
Cooking:
- Heat the fruit and sugar mixture over medium heat, stirring frequently to prevent sticking and burning.
- As the mixture heats up, the sugar will dissolve, and the fruit will release its juices. Continue stirring until the mixture comes to a gentle boil.
Skimming and Boiling:
- Once the mixture reaches a boil, reduce the heat to a simmer. Skim off any foam that forms on the surface using a spoon.
- Let the mixture simmer, stirring occasionally, until the fruit softens and the mixture thickens. This can take anywhere from 20 to 45 minutes, depending on the type of fruit and desired thickness.
Testing for Set (Optional):
- To test if the preserves have reached the desired thickness, you can perform a “gel test.” Place a small amount of the mixture on a cold plate and let it cool. If it forms a gel-like consistency, it’s ready.
Jarring:
- While the preserves are still hot, carefully ladle them into clean glass jars, leaving about ¼ inch of headspace at the top.
- Wipe the jar rims clean to ensure a proper seal. Place the lids on the jars and screw on the bands until they are fingertip-tight.
Processing (Optional for Long-Term Preservation):
- If you plan to store the preserves for an extended period, you can process the jars in a boiling water bath canner.
- Place the sealed jars in the canner, making sure they are fully submerged in water. Process them according to recommended times for your altitude and jar size. This helps create a vacuum seal and extends shelf life.
Cooling and Storage:
- After processing or simply jarring the preserves, allow the jars to cool at room temperature.
- Store the cooled jars in a cool, dark place, such as a pantry or cellar. Properly sealed and processed jars can last for several months to a year.
Notes
Embracing natural preservation methods not only enhances food safety but also promotes a return to traditional, time-tested practices that respect the innate qualities of fresh ingredients while minimizing the need for artificial additives.

